Beginner Robotics Kit - 9. Anti-collision robot
When you were developing the previous exercises, you probably started thinking, "I want to make my robot dodge objects", as we at Robocore know everything you want, we created this experiment that will meet your needs by introducing how the sensor works and its implementation to detect obstacles and measure the distance between the obstacle and the robot.
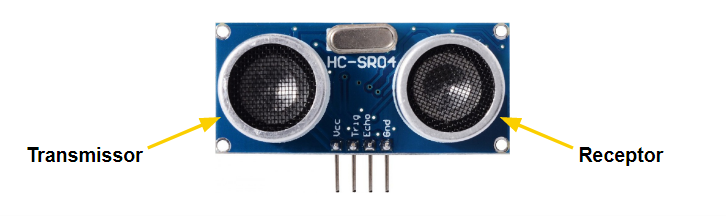
HC-SR04 works by measuring the time it takes an ultrasonic wave to reach an object and return. With this round-trip time and the speed of sound it is possible to determine, with the help of Julieta, the distance. On the sensor, you will notice that there are two cylinders that resemble two eyes. One is the emitter and the other is the detector.
As its operation is based on the behavior of sound waves, the ultrasonic sensor has some limitations. One of them is when measuring distance with angled objects, because the more angled the object is in relation to the sensor, the greater the difficulty that the ultrasonic wave has to return to the receiver, this effect occurs because very angled objects deviate the trajectory of the sound waves. Note: Even in the case of sound waves, the ears are not sensitive to such waves because the sensors work at frequencies higher than the audible ones.
In this example, we will simply read and print the values of the Ultrasonic Sensor to better understand its operation, for this we will use the FalconRobot library responsible for obtaining the response time of the sensor and calculating the distance.
Upload this sample code to your Falcon Platform. To do this, go to: File-> Examples-> RoboCore Falcon Robot Library-> Exp5_1_DeviatingObstacles or copy and paste the sample code below.
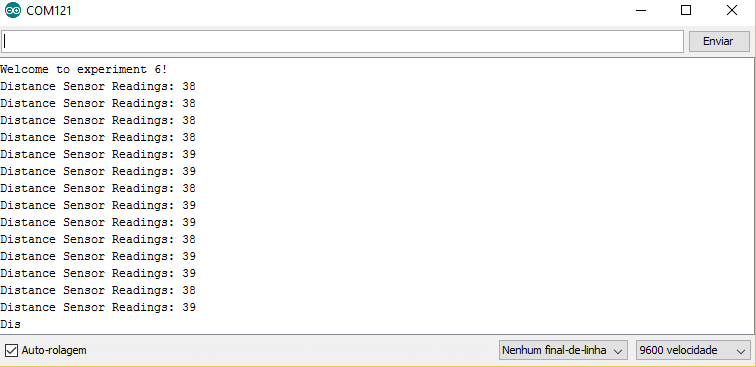
After uploading the code to your robot, open the Serial Monitor to view the sensor reading. You should see a window like this:
Thinking about it, this experiment becomes very interesting, since we are going to make our robot "understand" the environment that it is inserted and take actions from that. Currently there are robotics competitions where the robot needs to evacuate a room without human action, and this technique can be used in this case.

Let's do a mental exercise, thinking about what goal we want to achieve and what we must do to achieve that goal. We will determine which steps we must take in order to achieve the objective of the experiment.
What goal do we want to achieve?
Make the robot walk without colliding with objects.
What should we do to achieve the goal?
Configure the digital ports of motors 1 and 2 and the ultrasonic sensor; read the sensor; and finally, start the motors, when the distance read by the sensor is less than a certain distance.
Of course, in aircraft and cars there are sensors everywhere. In our case we will do something simpler, but very cool: if there are any obstacles in front of the robot, it must take action on its own. Now that the steps are determined, we will follow them to develop the programming for the anti-collision robot.
Configure the digital ports of motors 1 and 2 and the ultrasonic sensor.
For this purpose, the functions "FalconRobotMotors" will be used, where it is determined which pins of the Julieta board will be used for the motors, and "FalconRobotDistanceSensor", for the distance sensor. As we are using functions from the "FalconRobot.h" library, be sure to include it as well.
Reading the sensor.
What we must keep in mind is that the robot must update the position of objects in front of it at all times and, from there, decide how to start the motors. So, the first thing we do inside the void loop is to read the ultrasonic sensor HC-SR04 and store that information in a variable. To read the ultrasonic sensor, use the "FalconRobotDistanceSensor" function.
Start the engines.
After reading the sensors, we need to determine a condition based on the readings, for the robot to make a decision. In this case, as the purpose is for the robot to change direction if it gets close to objects, the condition is that if the distance read is less than 20cm, we must stop and turn to one side (here we will do to the right, but nothing will prevent it from turning to the other side). For this, we will use one of the most used conditional structures, the if. Doing the mental exercise again, the command given to the robot should be something like:
Convertendo o código acima o código seria:
Now, gather all the parts of the code and send it to the board:
Expected result:
With this code the robot will always move to the right when approaching a distance less than 20cm.
.gif)
HC-SR04 works by measuring the time it takes an ultrasonic wave to reach an object and return. With this round-trip time and the speed of sound it is possible to determine, with the help of Julieta, the distance. On the sensor, you will notice that there are two cylinders that resemble two eyes. One is the emitter and the other is the detector.
Characteristics of the sensor
As its operation is based on the behavior of sound waves, the ultrasonic sensor has some limitations. One of them is when measuring distance with angled objects, because the more angled the object is in relation to the sensor, the greater the difficulty that the ultrasonic wave has to return to the receiver, this effect occurs because very angled objects deviate the trajectory of the sound waves. Note: Even in the case of sound waves, the ears are not sensitive to such waves because the sensors work at frequencies higher than the audible ones.
Detecting Obstacles
In this example, we will simply read and print the values of the Ultrasonic Sensor to better understand its operation, for this we will use the FalconRobot library responsible for obtaining the response time of the sensor and calculating the distance.
Upload this sample code to your Falcon Platform. To do this, go to: File-> Examples-> RoboCore Falcon Robot Library-> Exp5_1_DeviatingObstacles or copy and paste the sample code below.
After uploading the code to your robot, open the Serial Monitor to view the sensor reading. You should see a window like this:
Exercise: Checking measurement errors with non-perpendicular objects.
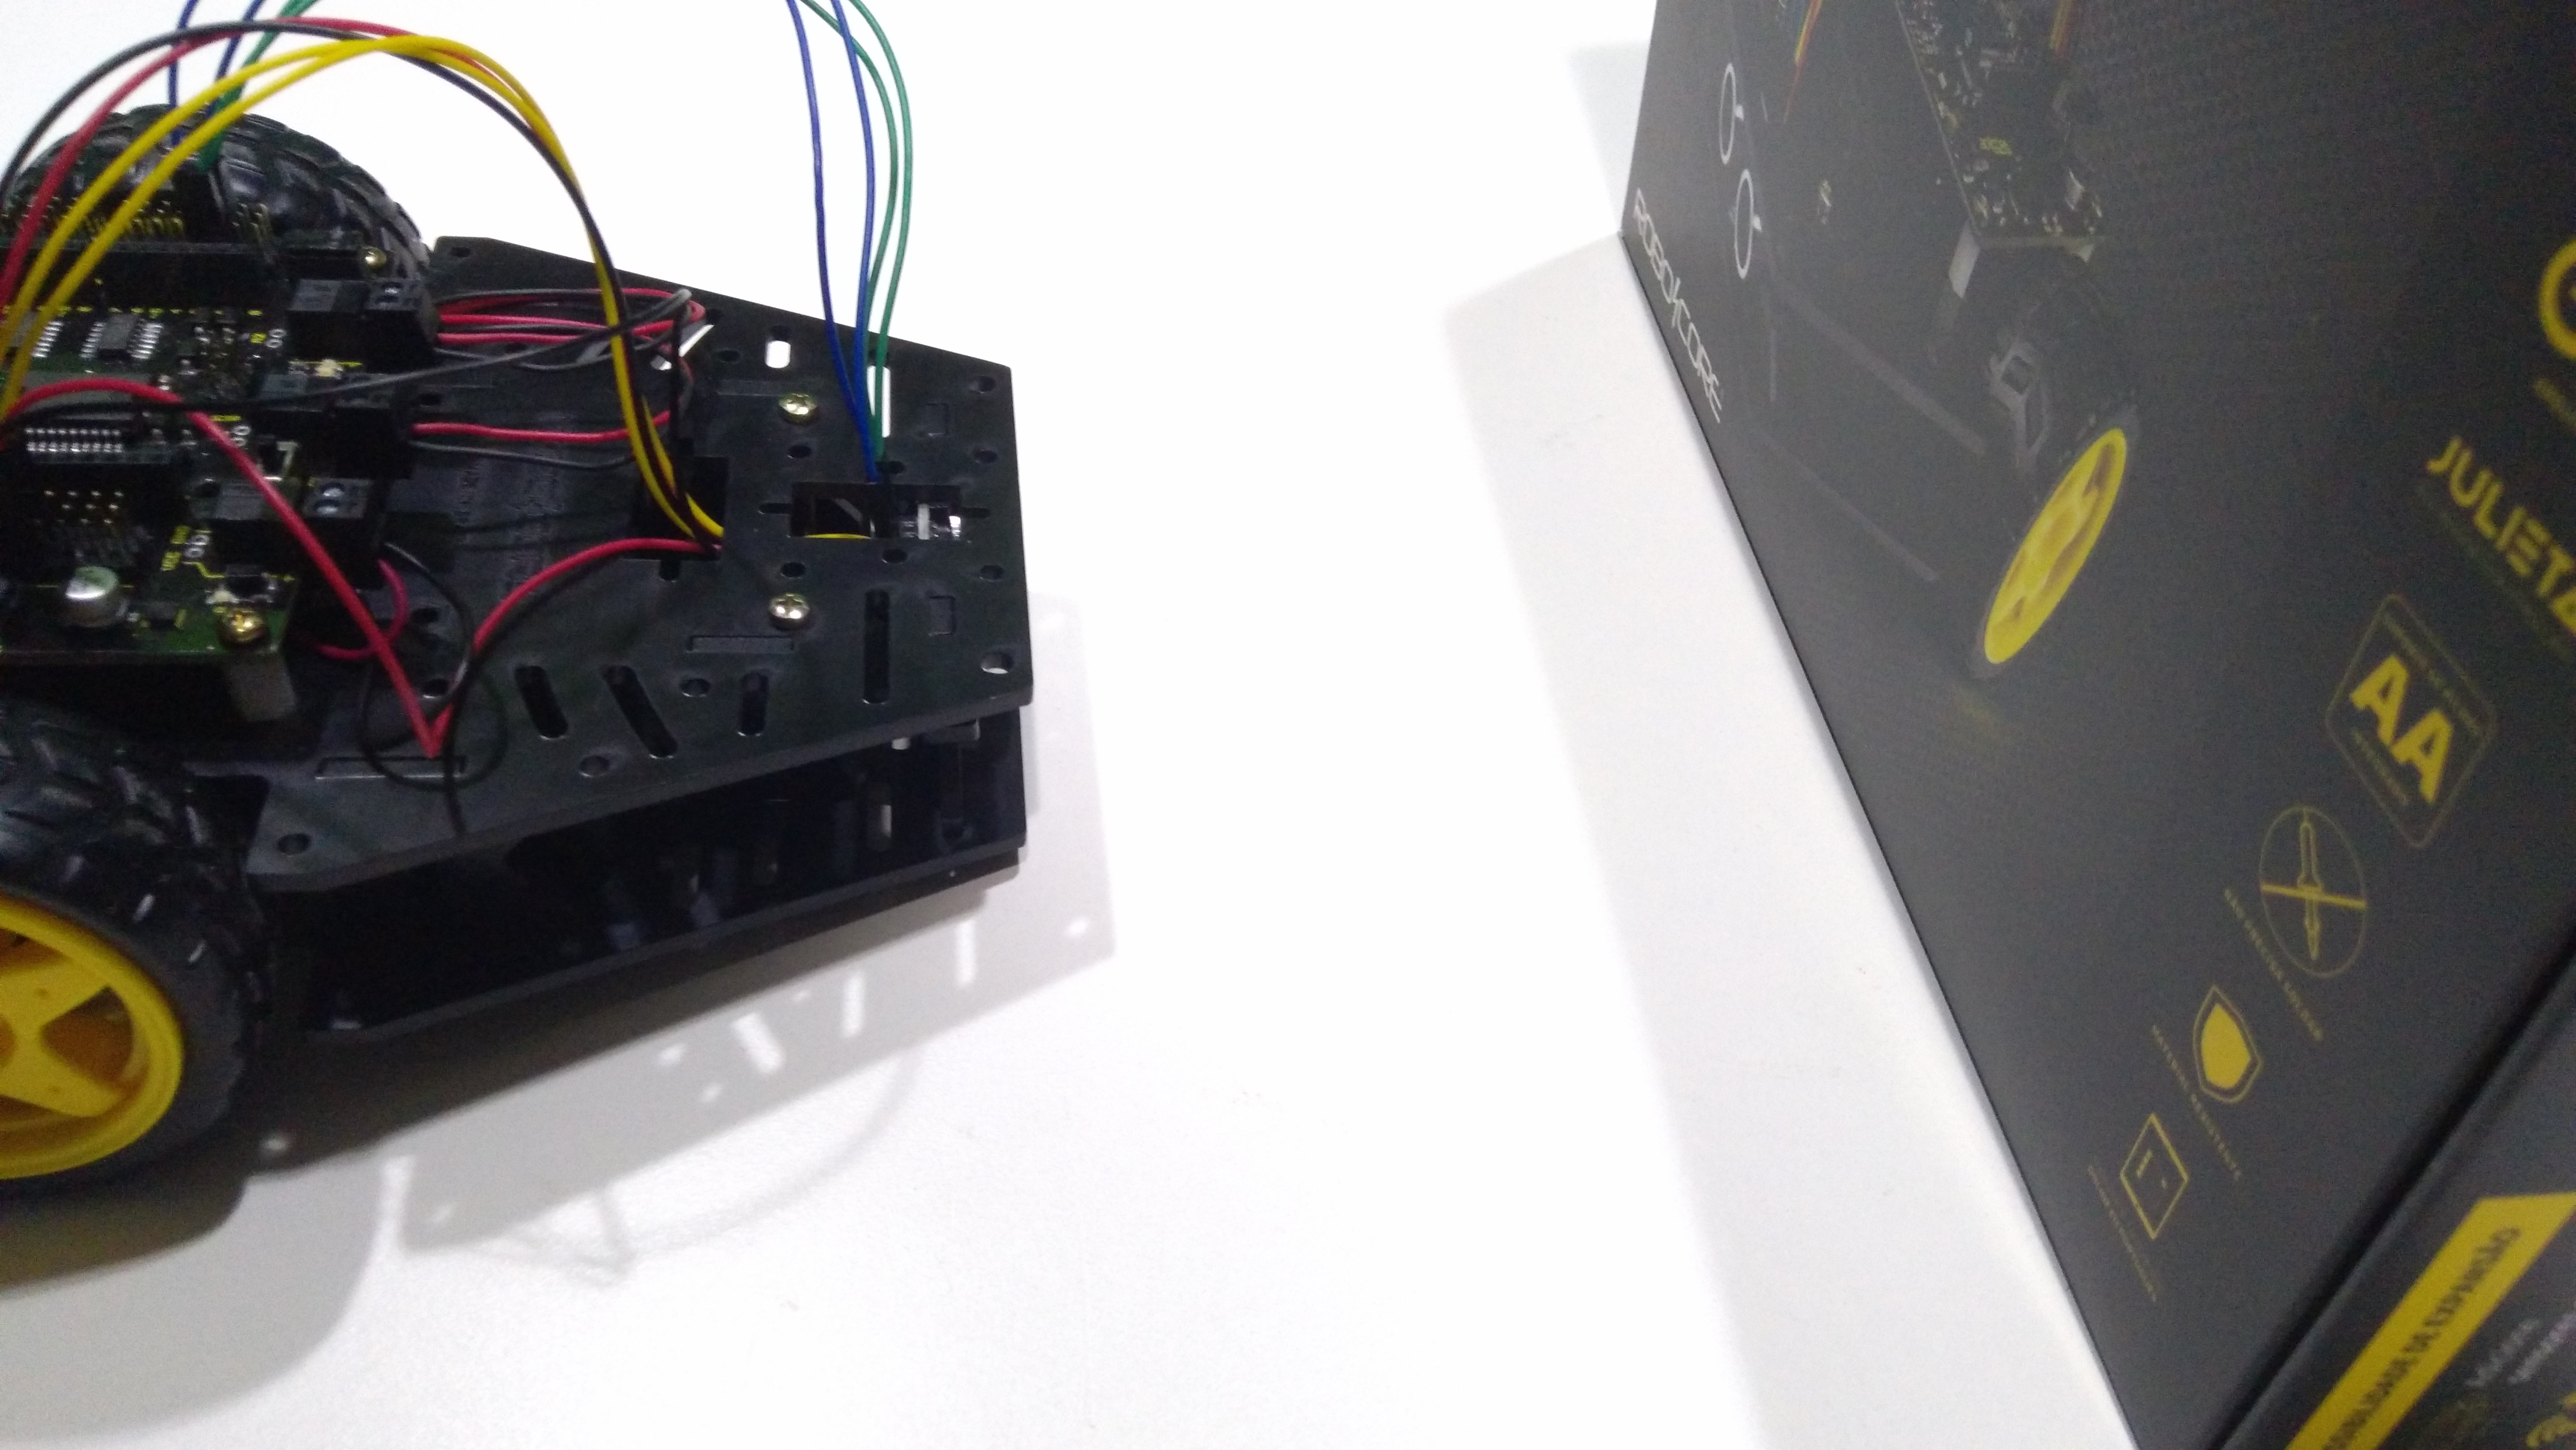
To understand the effects that angled objects can have on the sensor readings, do the following procedures. With the robot connected to your computer:- Place your robot on your table.
- Position an object parallel to the table in front of the robot. Under these conditions, it will be possible to verify that the sensor readings are correct, as it will be possible to verify that there are no great variations in the readings
- Now position an object in front of the sensor with an angle greater than 30º in relation to the table, at this moment when we check the sensor readings we can see that the readings vary a lot and therefore the sensor cannot measure the distance of objects with too much angulation, result of the mechanical phenomena that base the sensor's operation.
Experiment: Anti-collision robot.
Anti-collision systems are widely used today in different areas. From the ACAS system on aircraft, which help pilots to take effective actions to avoid a collision between aircraft and other objects, to simpler systems, found in some passenger vehicles. What do these systems have in common? The reading of sensors that assist the user or even cause actions to be taken without the interference of a person.Thinking about it, this experiment becomes very interesting, since we are going to make our robot "understand" the environment that it is inserted and take actions from that. Currently there are robotics competitions where the robot needs to evacuate a room without human action, and this technique can be used in this case.
Let's do a mental exercise, thinking about what goal we want to achieve and what we must do to achieve that goal. We will determine which steps we must take in order to achieve the objective of the experiment.
What goal do we want to achieve?
Make the robot walk without colliding with objects.
What should we do to achieve the goal?
Configure the digital ports of motors 1 and 2 and the ultrasonic sensor; read the sensor; and finally, start the motors, when the distance read by the sensor is less than a certain distance.
Of course, in aircraft and cars there are sensors everywhere. In our case we will do something simpler, but very cool: if there are any obstacles in front of the robot, it must take action on its own. Now that the steps are determined, we will follow them to develop the programming for the anti-collision robot.
Step 1:
Configure the digital ports of motors 1 and 2 and the ultrasonic sensor.
For this purpose, the functions "FalconRobotMotors" will be used, where it is determined which pins of the Julieta board will be used for the motors, and "FalconRobotDistanceSensor", for the distance sensor. As we are using functions from the "FalconRobot.h" library, be sure to include it as well.
Step 2:
Reading the sensor.
What we must keep in mind is that the robot must update the position of objects in front of it at all times and, from there, decide how to start the motors. So, the first thing we do inside the void loop is to read the ultrasonic sensor HC-SR04 and store that information in a variable. To read the ultrasonic sensor, use the "FalconRobotDistanceSensor" function.
Step 3:
Start the engines.
After reading the sensors, we need to determine a condition based on the readings, for the robot to make a decision. In this case, as the purpose is for the robot to change direction if it gets close to objects, the condition is that if the distance read is less than 20cm, we must stop and turn to one side (here we will do to the right, but nothing will prevent it from turning to the other side). For this, we will use one of the most used conditional structures, the if. Doing the mental exercise again, the command given to the robot should be something like:
Convertendo o código acima o código seria:
Now, gather all the parts of the code and send it to the board:
Expected result:
With this code the robot will always move to the right when approaching a distance less than 20cm.