HockeyBot
Introduction
Just received your HockeyBot and want to start playing? We'll show you everything you need to know to get started and use the RoboCore app to control your robot.
In this tutorial, you will learn how to use all the functions of the RoboCore Joystick app in a simple and practical way.
Before turning on your robot, we recommend charging it.
Application Installation
As mentioned earlier, we'll use the RoboCore Joystick app to control the robot. It's compatible with iPad, iPhone, and Android devices.
Install the application using the links below, depending on your device's operating system:


Connection with the Robot
HockeyBot has a power switch located in the center. To turn it on, set the switch to the "on" position. Once the robot is powered on, several status LEDs will light up, as shown in the following GIF:
With the robot and your smartphone's Bluetooth turned on, open the application previously downloaded on your smartphone and tap the Bluetooth icon located in the upper right part of the screen, as marked in the image below:

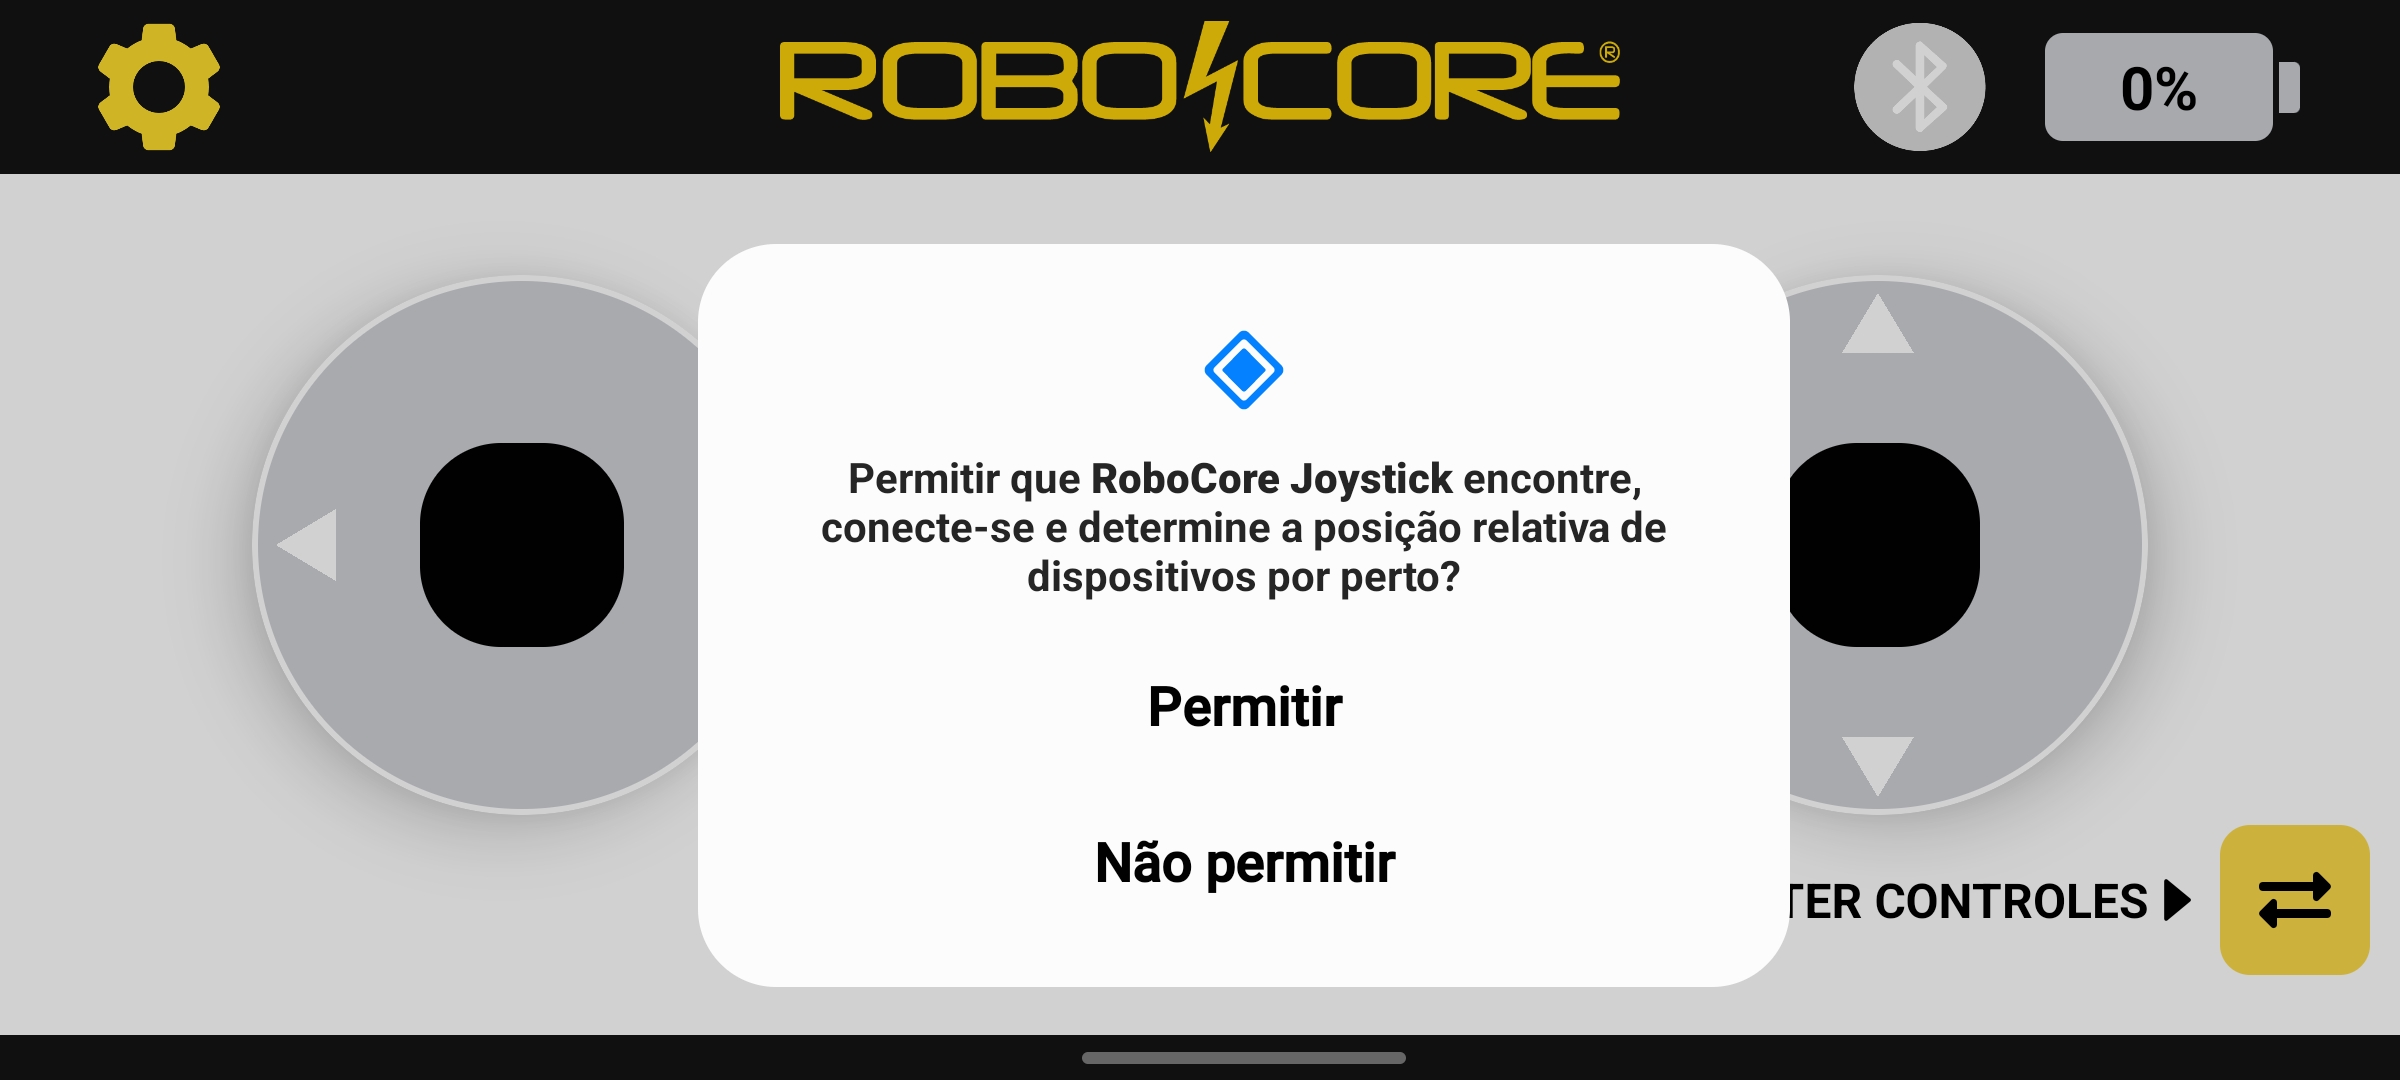
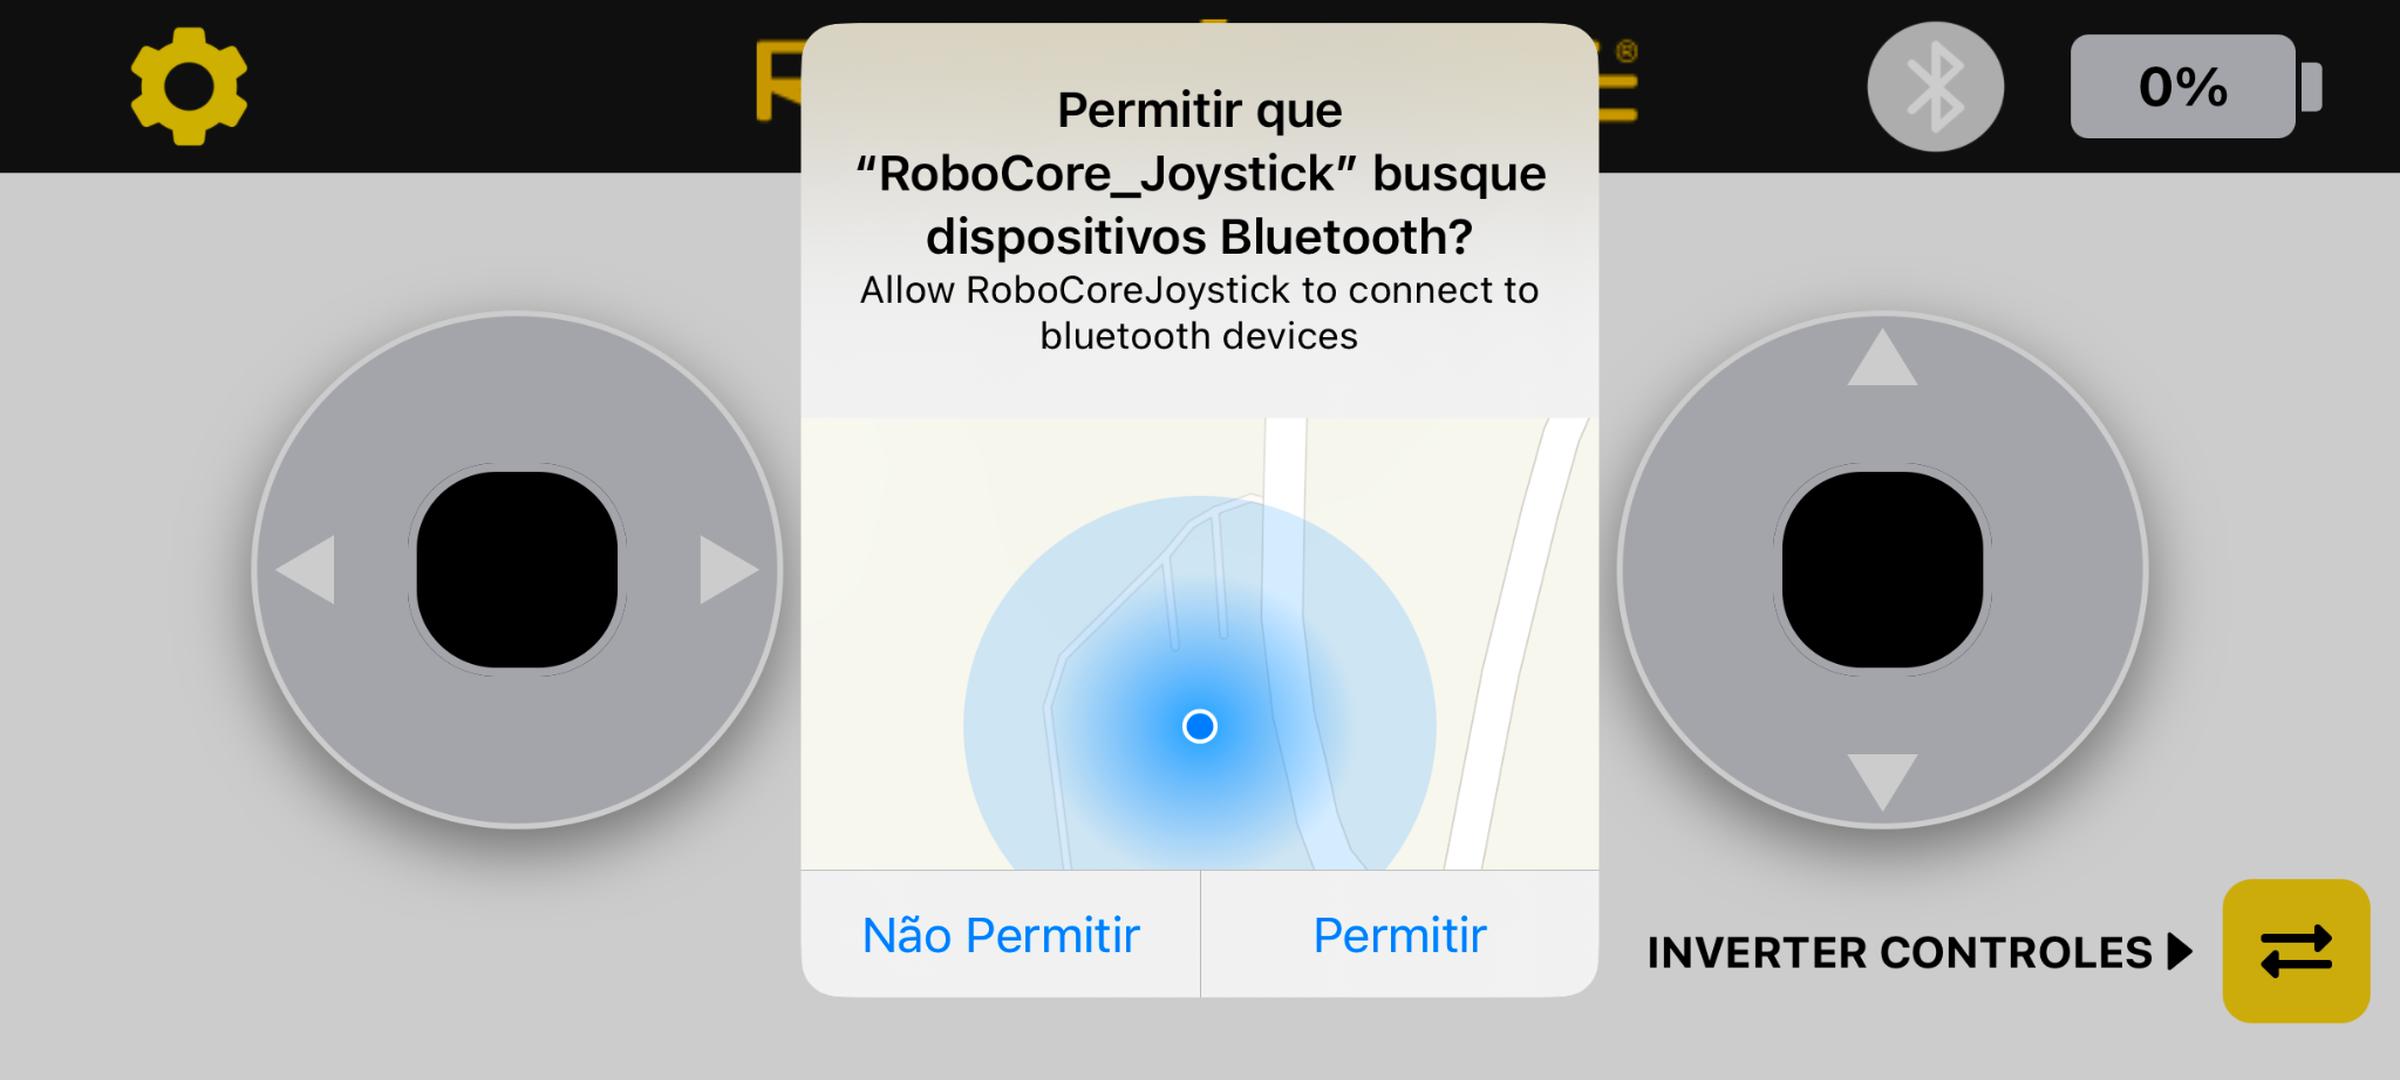
The app must request permission to find and connect to nearby devices or to scan for Bluetooth devices. It's important to allow the app access to these features, otherwise it won't be able to connect to the robot.
After granting permissions, a window will appear with the robots that are available for connection.

The default bot name will be something like "HockeyBot-xx:xx", where the last four characters represent a unique number for each bot. This means that the final numbers may vary between bots.
Note that the robot has an orange LED flashing every second, indicating that the robot is waiting for a connection. To connect to the robot, simply click on its name in the list. If the connection is successful, a confirmation message will appear in the app and the orange LED will turn solid, indicating that the connection has been successfully established.
Robot Control
With your smartphone connected to the robot, you can control it using the forward and reverse and left and right steering joysticks. If you'd like to learn more about the robot and the app, continue reading the tutorial.
Application Functions
See the image below for instructions on the application's home screen functions:

Bluetooth
As we saw earlier, the Bluetooth function allows you to connect your device to a robot. Additionally, this function can also be used to disconnect from the robot. Once connected to a device, the robot will not be visible to other devices until the connection is terminated.
Battery
The battery indicator is essential for monitoring the current battery percentage and knowing when it's time to charge the robot, avoiding interruptions during use. When the battery reaches 0%, you'll see a message informing you that the battery is very low and that you need to recharge the robot to continue using it. Additionally, the robot's orange LED should blink faster to indicate that the battery charge is very low.

In the next tutorial topics, we will see how to charge the robot.
Invert Controls
As the name suggests, this function inverts the joystick commands, that is, the forward and direction controls are inverted, as demonstrated in the GIF below:
Settings
When you click on the settings icon, a new window will appear with some options: Bluetooth, Rename robot and Connected robot information.

The Bluetooth option has the same features mentioned above.
The rename robot option allows you to assign a custom name to it. This feature is especially useful in environments with multiple robots, making it easier to identify each one individually. Clicking this option will prompt you to enter the desired new name for the robot.

The robot name must contain up to 10 characters and can be letters, numbers, hyphens (-), and underscores (_). After entering the desired name, click the "OK" button and wait for the change confirmation message, as shown in the following GIF:
After renaming the robot, when accessing the Bluetooth option, you should see the updated name with the new name chosen.
Returning to the settings menu, there's still the "Connected Robot Information" option. This option lists detailed information about the connected robot, such as the firmware version, serial number, and chassis version. This information is useful for identification and technical support purposes.

Charging the Robot
HockeyBot comes with a power supply that must be connected to the wall outlet and the robot using the connector located on the side. The power supply is dual-voltage and can be connected to 110 V or 220 V electrical outlets.
When connected to the charger, the robot should light up green, and while the battery is charging, an orange LED should also be lit. For safety reasons, the robot cannot be controlled while it is charging.
When the robot is fully charged, the orange LED will turn off, leaving only the green LED on.

The Game
Now that you've learned all the features of the app and the robot, it's time to put what you've learned into practice and start having fun with your friends! We suggest playing 1v1, 2v2, or even 3v3 games. In robot hockey, there are no fouls or timeouts! The goal is simple: get the puck and score!
Oh, and no "out of bounds"! If the puck goes out of bounds, just pick it up and keep going?time doesn't stop! We recommend games lasting up to 3 minutes per match.
Get ready... and good luck on the field!
Troubleshooting
If you have any difficulty following the tutorial or controlling the robot, try the solutions below or contact us via email at support@robocore.net so we can help you in the best possible way.
Bluetooth menu won't open
Make sure your device's Bluetooth is turned on before attempting to connect to the robot again.
Turn on your device's location
If you receive this message when trying to connect to the robot, you will need to enable location on the device in addition to Bluetooth.
Communication with the robot has been lost
If you receive this message, make sure the robot is turned on and that no devices are connected to it.