Beginner Robotics Kit - 2. Mechanical Assembly
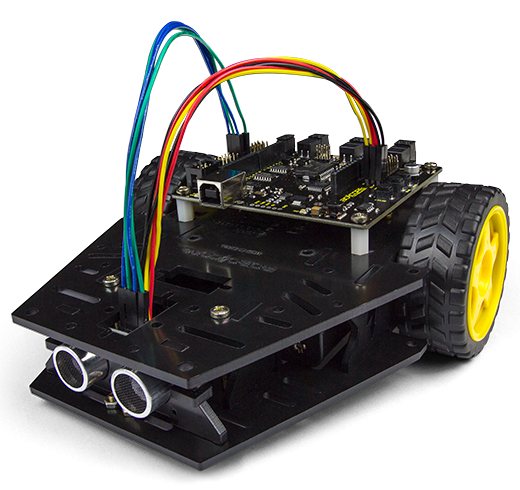
One of the first steps to develop a robot is to build the mechanical structure. Luckily for you, the Beginner Robotics Kit has uses the Falcon Robotic Platform and in this chapter you will learn how to assemble it!
It is worth mentioning that this platform was developed to be the basis for the most varied applications of mobile robotics, therefore, you will notice that it has several holes for fixing sensors, modules and expansions. It's manufactured in an impact resistant material, making it a versatile and durable platform for you to develop all the projects in this tutorials and in the future expand to grapples, wireless control, other sensors, etc.
Also, even with all the technical concern in the development of the platform, the design was not left out. You will see that there was a concern to make the platform as beautiful as it is efficient. Pay attention to the details, some easter eggs have been placed, will you be able to discover them? Good luck!
Materials
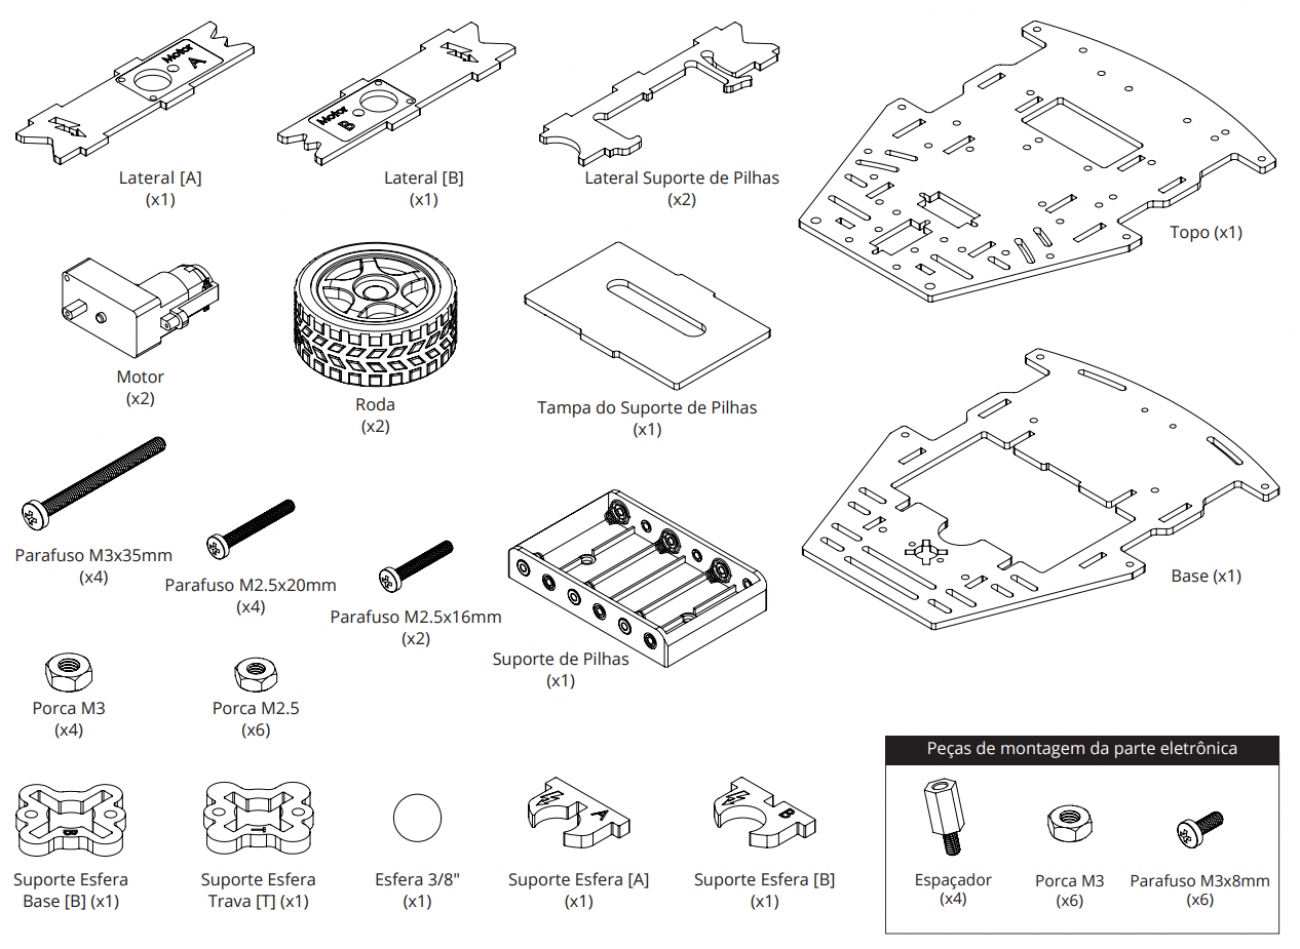
The Beginner Robotics Kit accompanies several parts, among them electronic boards, sensors, batteries and mechanical parts. In this topic we will deal specifically with the mechanical parts and their assembly. The mechanical parts of the chassis consist of the following:
Recommended Tools
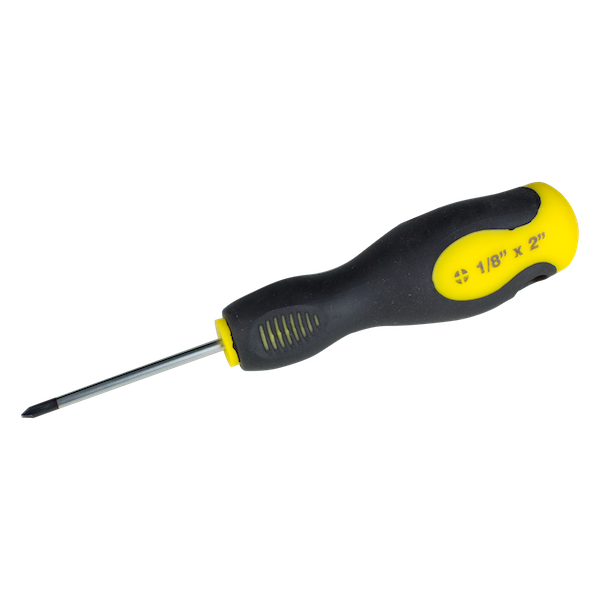
Below are two highly recommended tools for better assembly of this kit:
 |
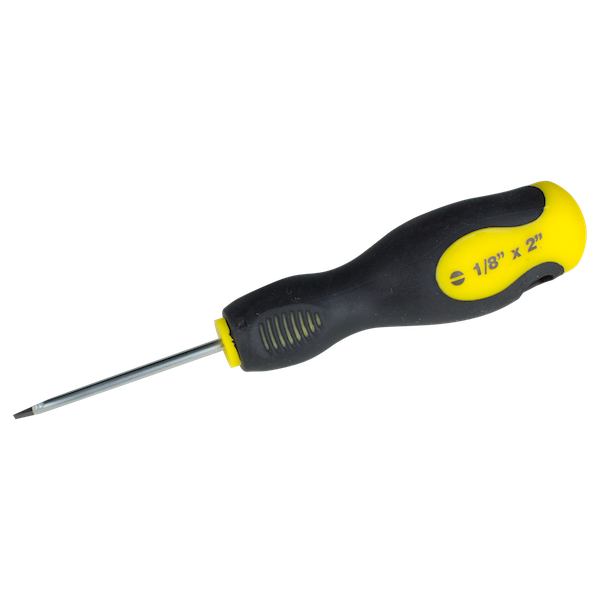 |
| Phillips screwdriver | Screwdriver |
The vast majority of the screws that come with the platform are of the "phillips" type, whereas the screws for connecting motors and batteries of the Julieta plate are of the "slotted" type, so having the two keys at hand will greatly facilitate your work.
Guidance Considerations
Whenever you read "front", "left", "right" and "rear" of the robot, have the image below as a reference:

Assembly
See in the video below, how to assemble your Falcon robot: